-40%
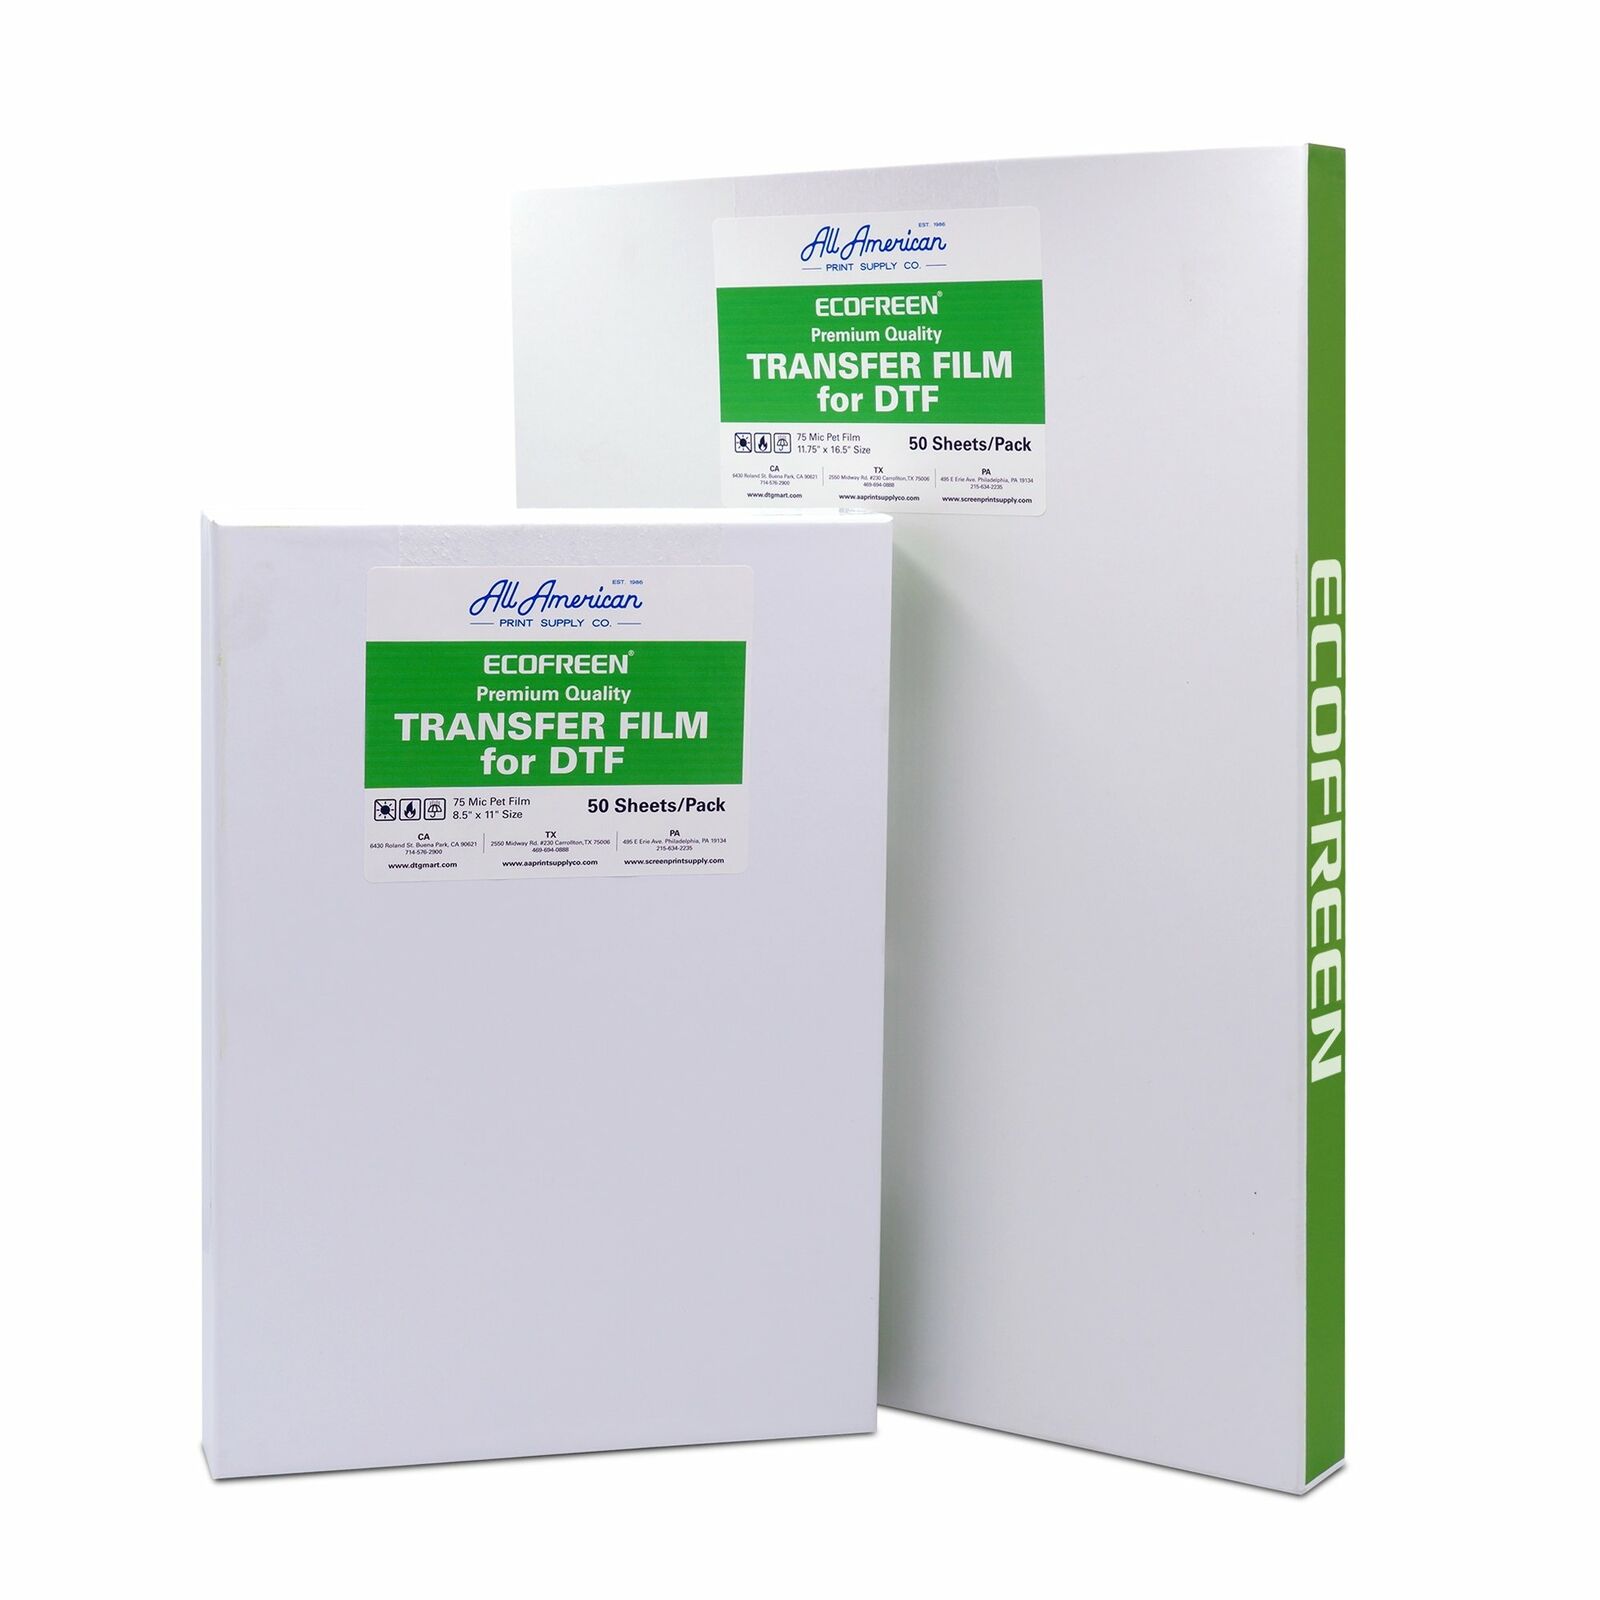
Ecofreen DTF Film for DTG Transfer (Direct to Film)
$ 15.83
- Description
- Size Guide
Description
MSDS for white powder (DTF)
Features:
After baking the powder, solid white for more vibrant colors. Even and regular particles for the fin quality of graphic and good adherence. Finely coated film for no pinholes!
Transfer Film for DTG Transfer (DTF):
A4 & A3
Roll (60cm x 100m)
Process:
Print the image onto the matte side of film in mirror mode. (CMYK>>White Ink)
Apply Ecofreen hot melt powder evenly and remove the excess powder
Hovering to bake the hot melt powder (170°C, 5min)
Transfer the image by heat press at 140°C for 15sec with medium pressure
Cold Peel (remove the film gently)
Heat press again for curing (140°C, 5sec) with medium pressure
*This product has no affiliation with Epson and is not endorsed by Epson.
*Settings and directions to print DTF with your F2000/2100 using Garment Creator*
The basic concept for DTF is to print CMYK first then WHITE on top of it. ALWAYS MIRROR YOUR IMAGE FIRST!
Most of you will be printing onto standard A3 and A4 sheets. Utilize every inch of space as you can to save on time and cost of materials. We call that gang sheeting. One benefit of GC is that it allows multiple images to be uploaded at the same time for printing. Those who order Plastisol Transfers will already know this. The two most common platens I use are 10 x 12 (A2) and 16 x 20 (A3). I place the sheet towards the top middle as a guide and measure how much empty space I have on the sides and bottom because the sheets will be smaller than your platen. I use tape to hold in at least 2 corners to prevent the sheet from shifting while printing.
Using GC for DTF is very much the same as with DTG. The only difference is you are reversing the cmyk/white color process and mirroring your image.
If your image has black in it then click on Black Garment. That will prevent GC from printing black unnecessarily.
For all other colors including white, use (Dark Color).
After selecting the proper color choice, you need to tinker with your color and white levels. For me personally I use level 2 for color and level 1 for white. I leave ink density to zero. And make sure you leave enough time in between passes in Pause between Passes (sec). This is very important. I like to choose 30-60 seconds
Under White Management it is very important to check “OFF” first before you print your CMYK pass. This will allow your color layer to go down first.
After your color pass is done then you go back to white management and click “ON”. Be sure you have enough seconds in your “Pause between passes (sec)” or else your printer will print another CMYK pass right after your white pass. YOU DO NOT WANT THAT! So you MUST manually press cancel on your printer before it does so.
Unfortunately, Garment Creator was not designed for DTF so it is necessary to turn white on and off for every print you do.
